1. Getting started
Creating the salon's account takes a couple of minutes. When you finish you land on the dashboard, your home screen every day.
- Tap “Salon access” on the home page, then “Create salon account”, and follow the wizard: owner details, salon details, opening hours, team and, finally, your e-mail and a password.
- You can also sign in with Google or Apple. If you sign up with e-mail, you'll get a 6-digit code to confirm it.
- You start with a free trial with every feature. No card needed.
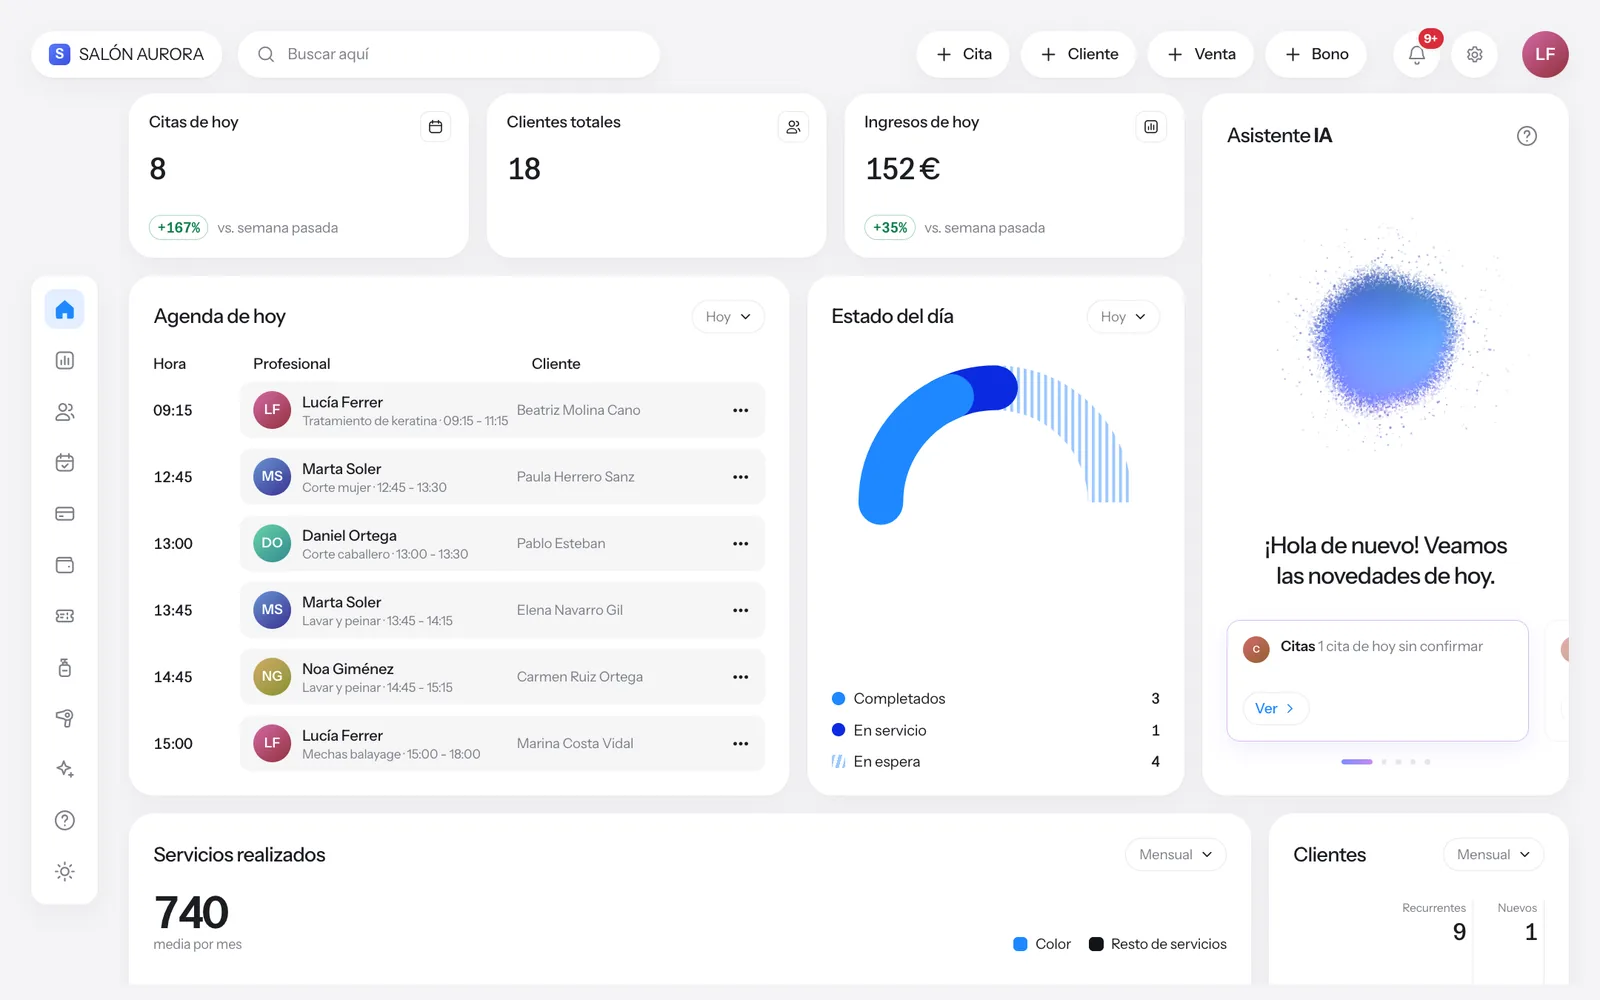
- The home dashboard sums up the day: today's appointments, clients, income, the calendar and the status of each appointment.
- Your account lives on the server: sign in with the same e-mail from your computer, tablet or the mobile app and you'll see the same thing.
2. Calendar and appointments
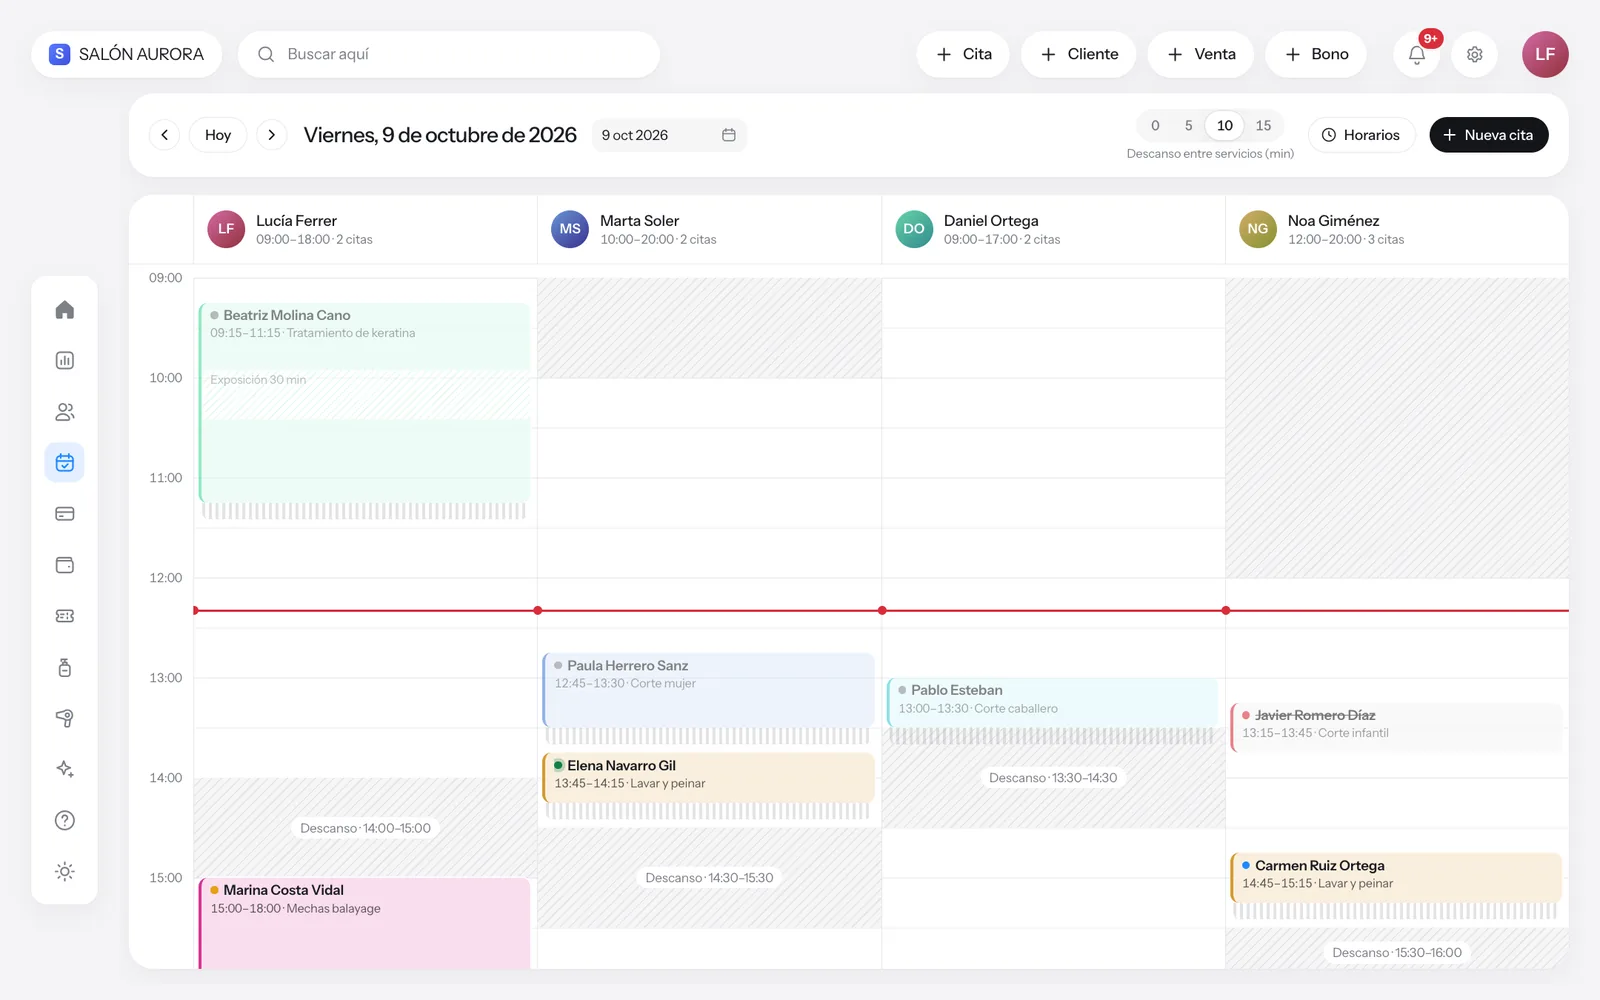
The calendar shows the day or the week by professional. That's where appointments are created, moved and closed.
- Open “Appointments” in the side menu. At the top, pick the date and whether to see the day or the week.
- Tap “New appointment” (or a free slot) and choose client, service, professional and time. The length comes from the service.
- Tap an appointment to change it, confirm it, mark it as completed or cancel it.
- Each appointment's colour shows its status: pending, confirmed, in service or completed.
- If a professional is off or the salon is closed that day, the calendar warns you before saving.
3. Clients and client records
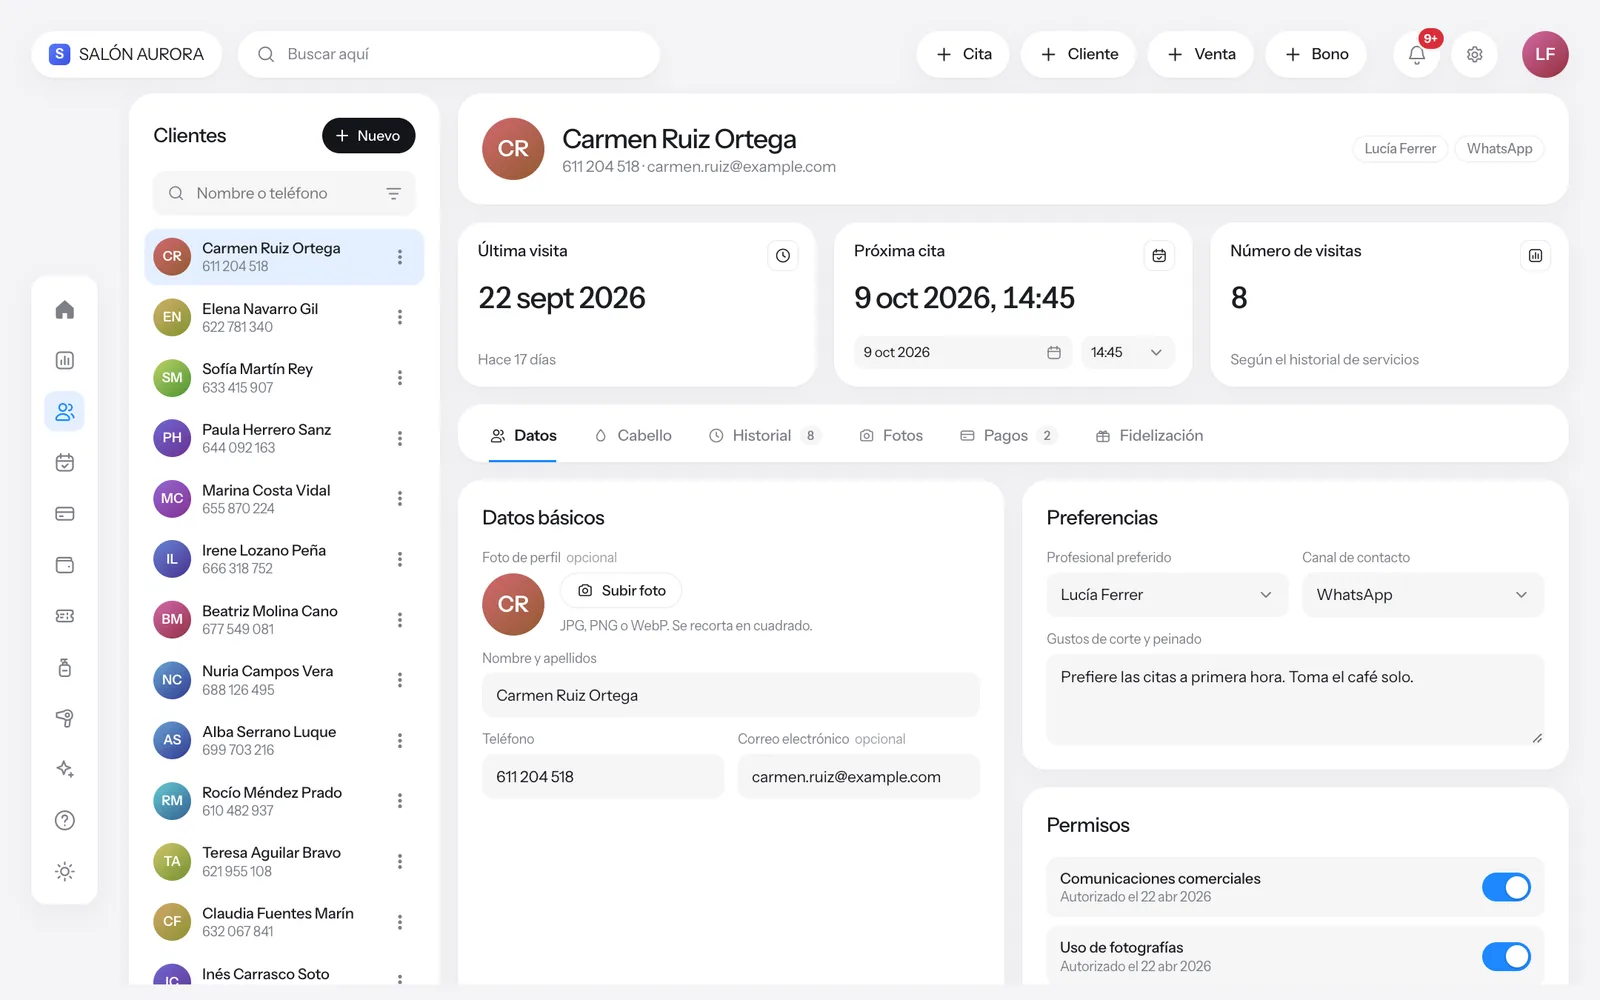
Each client has a record with their details, visit history, photos and what you've applied.
- Open “Clients”. Search by name or phone, or tap “New client”.
- The record holds contact details, notes (allergies, preferences) and service history.
- Add before and after photos to compare between visits.
- Colour formulas and AI Copilot analyses are saved in the record so you can repeat them.
- From the record you can book them an appointment or charge them without searching again.
4. POS and payments
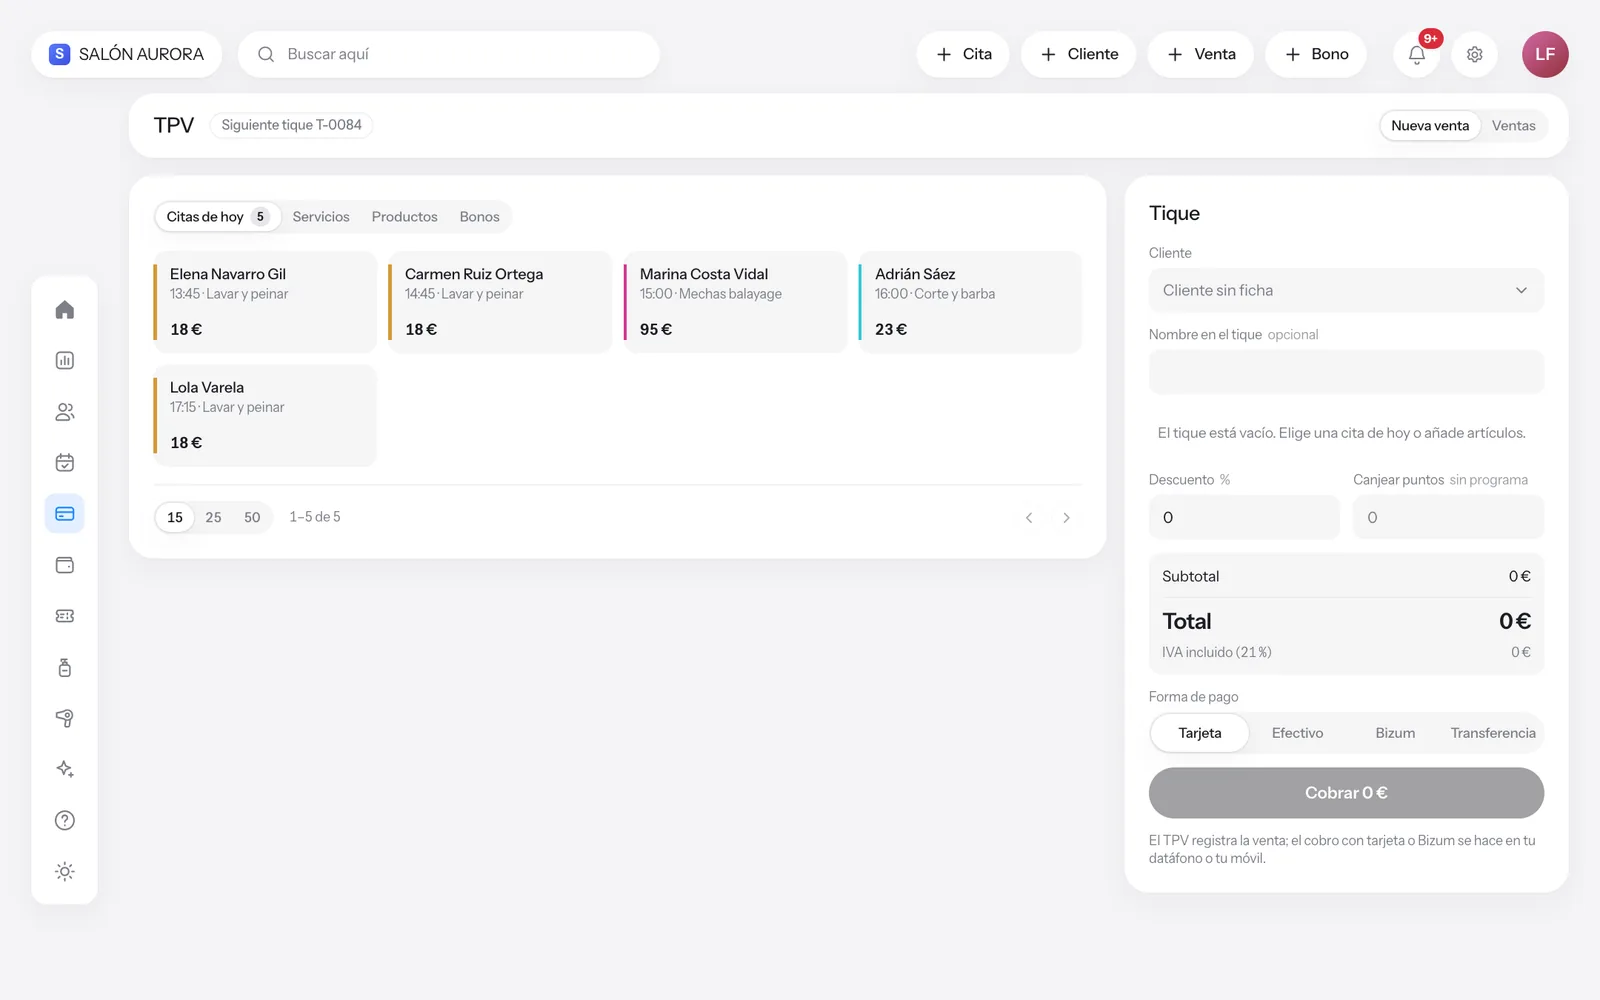
The POS charges services and products on the same receipt and takes the product off the stock.
- Open “POS” and add the services and products to the receipt. You can assign it to a client.
- Apply a discount or redeem a session from a package if the client has one.
- Choose how they pay (cash, card, Bizum…) and tap “Charge”.
- The receipt is saved, adds to the day's income and takes what was sold off the stock.
- The day's sales and the history are on the same screen.
5. Services and prices
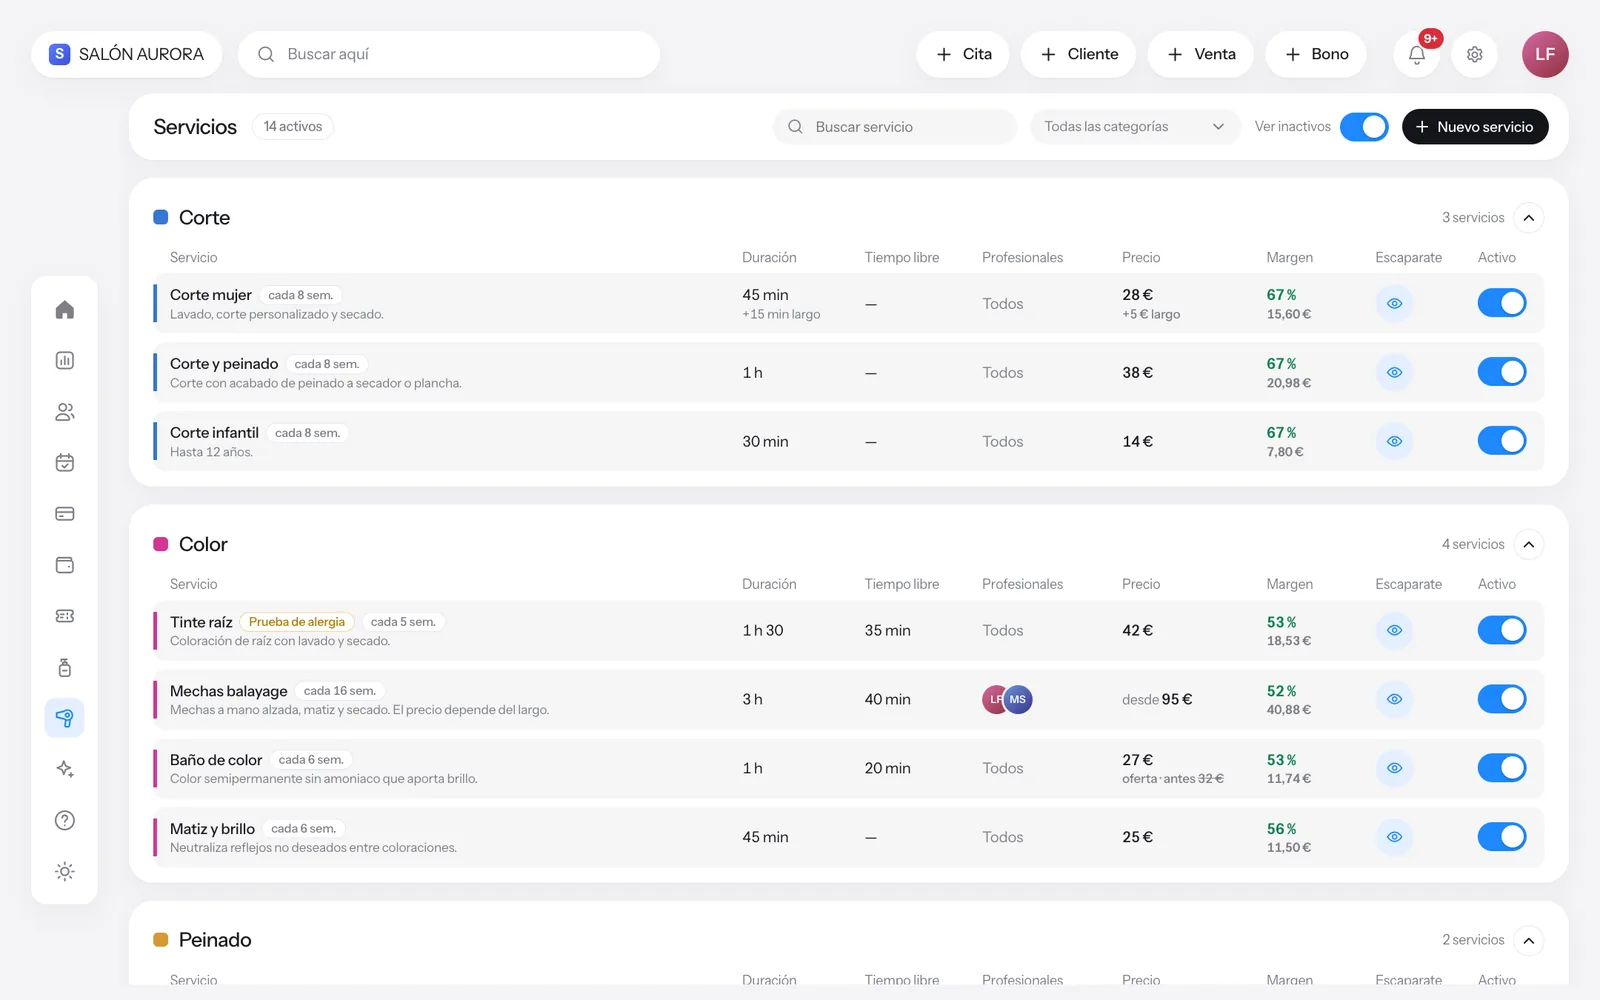
The service catalogue is what gets booked in the calendar, charged at the POS and shown on your public page.
- Open “Services” and tap “New service”.
- Give it a name, category, length and price. The length is the time it takes up in the calendar.
- Turn a service off to stop offering it without losing its history.
- Organise the catalogue by category (cut, colour, treatments…) to find things faster.
6. Products and stock
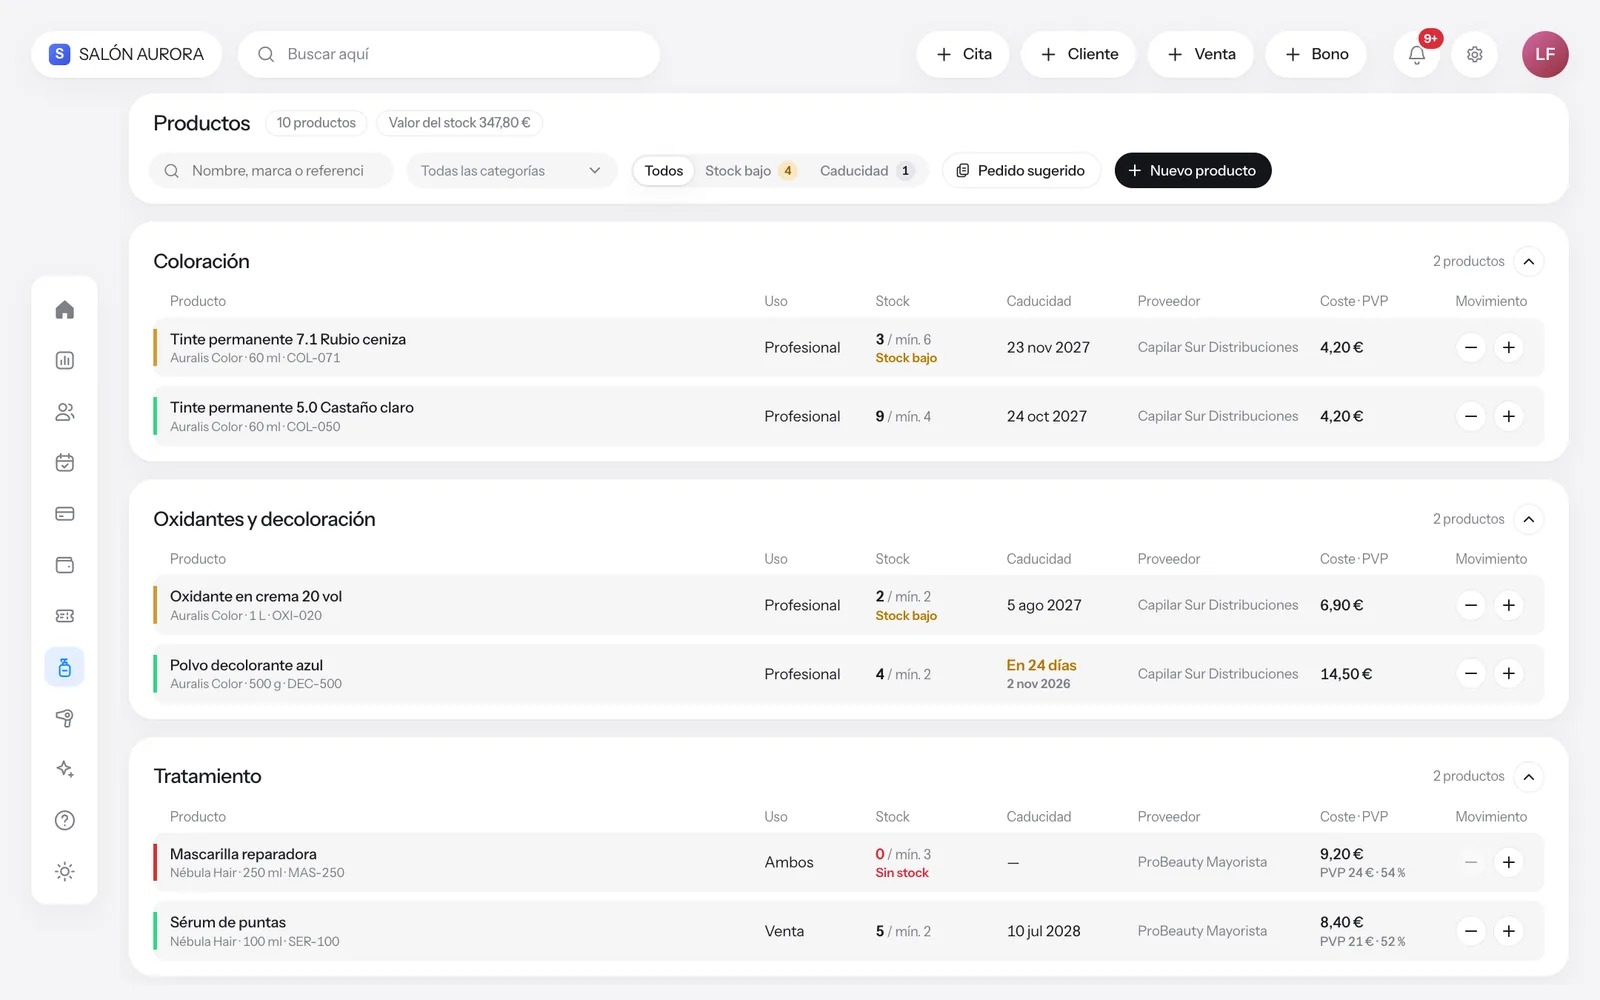
Keep track of the stock you sell and use in the salon, with an alert when something runs low.
- Open “Products” and add each product with its price, stock and minimum.
- When stock drops below the minimum, the product is flagged and shows up in notifications.
- Record stock in (purchases) and stock out (salon use) so the stock is accurate.
- What you sell at the POS is deducted automatically.
7. Packages & loyalty
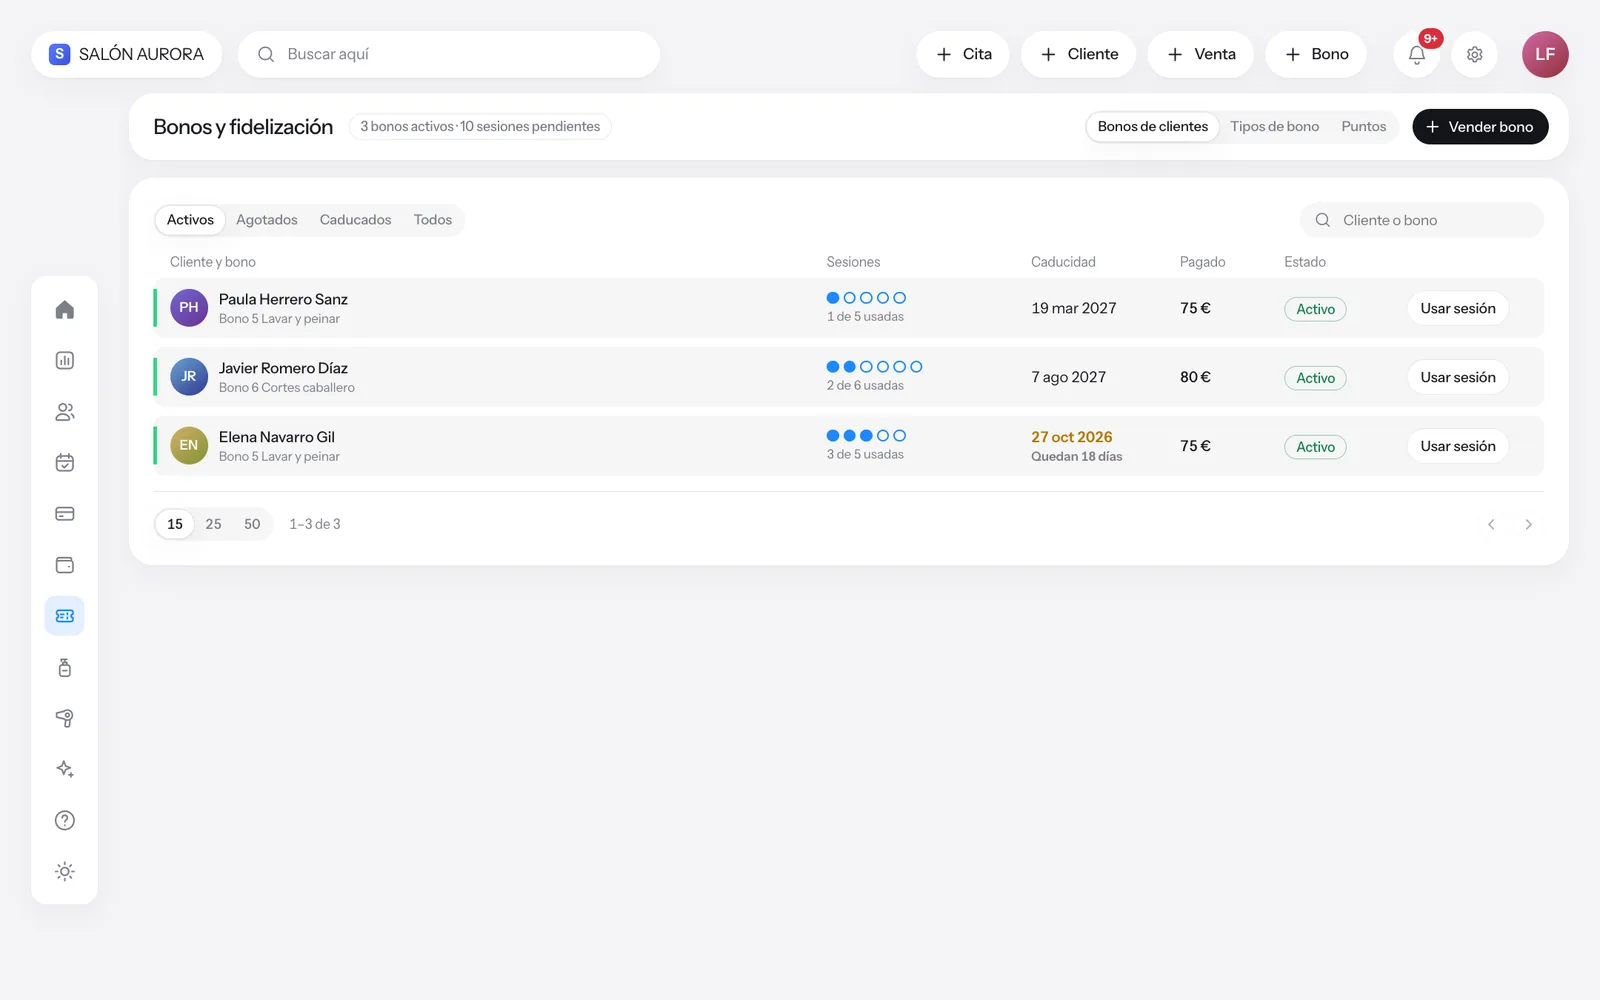
Sell session packages in advance and reward clients who come back.
- Open “Packages & loyalty” and create a package type: service, number of sessions, price and validity.
- Sell the package to a client; it's linked to their record.
- Every time they come, redeem a session from the POS or from the package itself.
- You see at a glance how many sessions are left and when it expires.
8. Payments & expenses
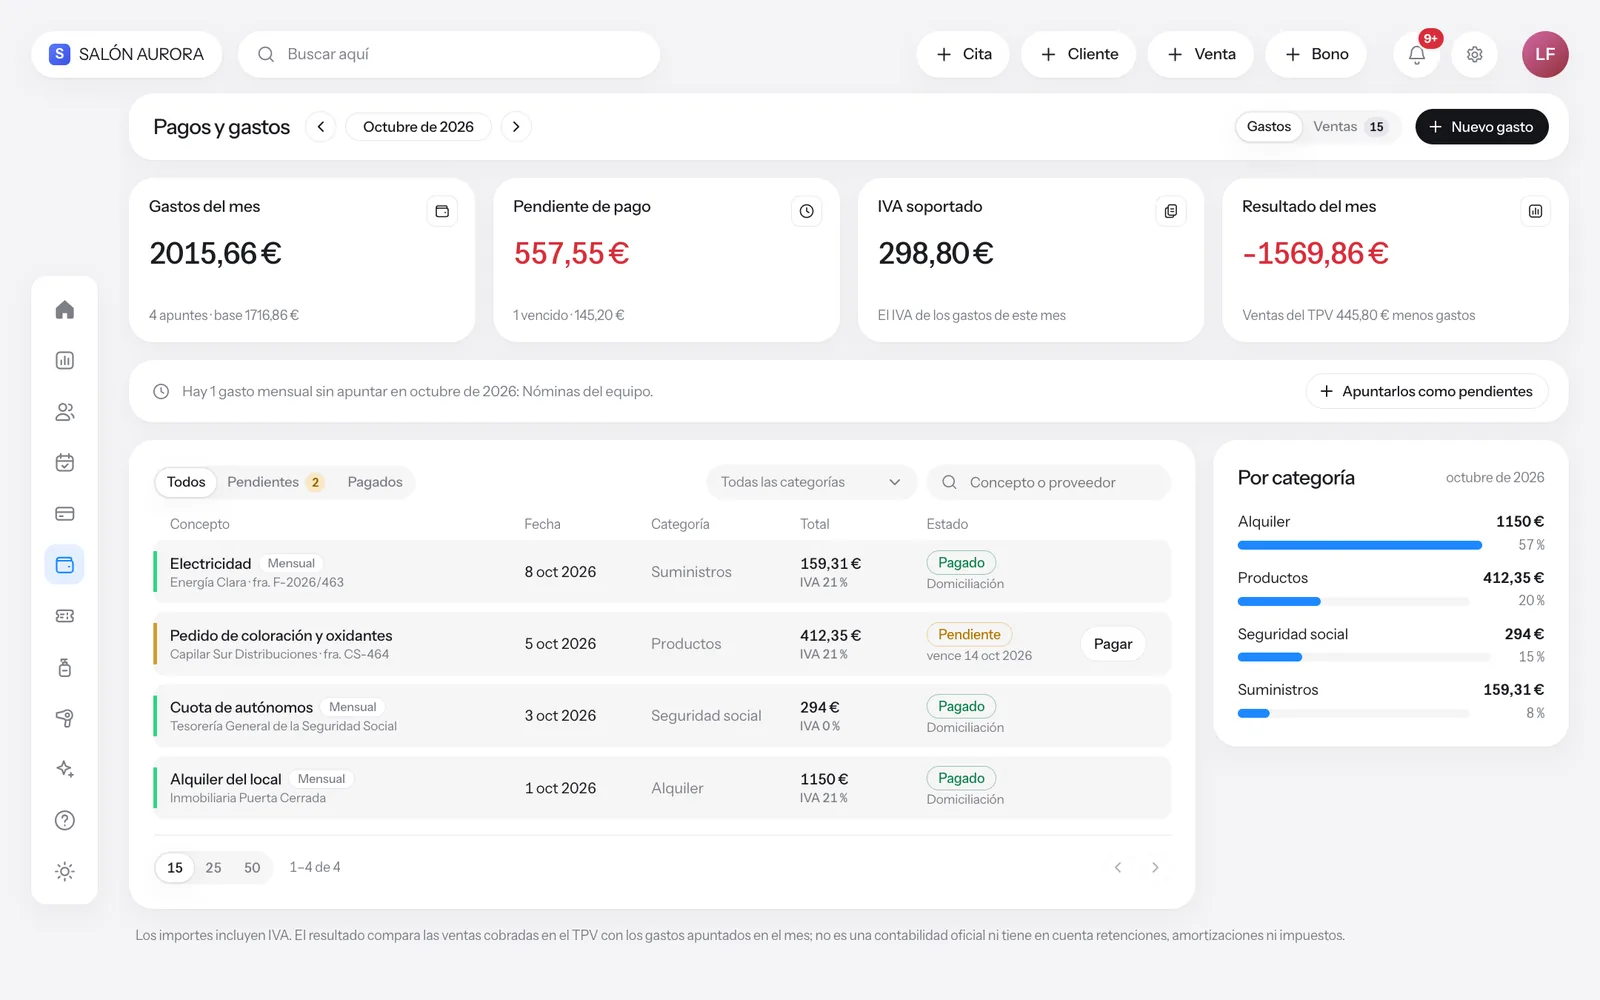
Note down what the salon pays (rent, suppliers, utilities) to know what's really left.
- Open “Payments & expenses” and tap “New expense”.
- Enter the description, category, amount and date. You can mark it as paid or pending.
- Filter by month or category to see where the money goes.
9. Analytics
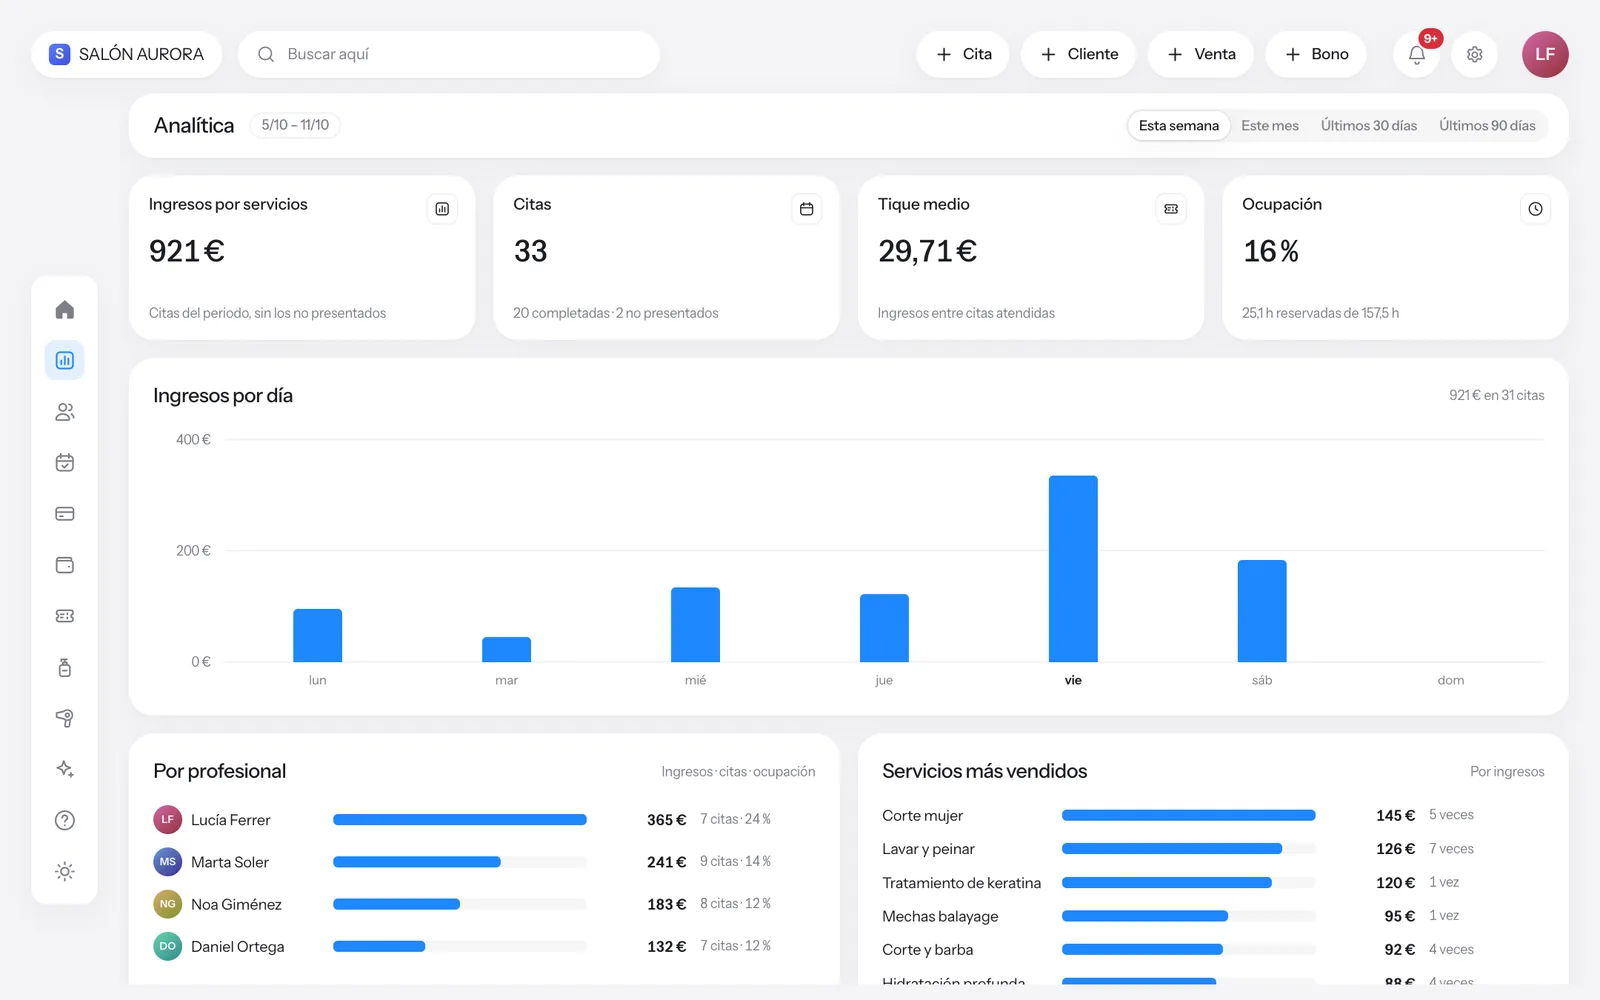
The salon's figures, taken from your appointments and sales: nothing to fill in.
- Open “Analytics” and choose the period.
- You'll see income, average receipt, best-selling services and performance by professional.
- Compare with the previous period to see whether you're up or down.
10. Your public page and online booking
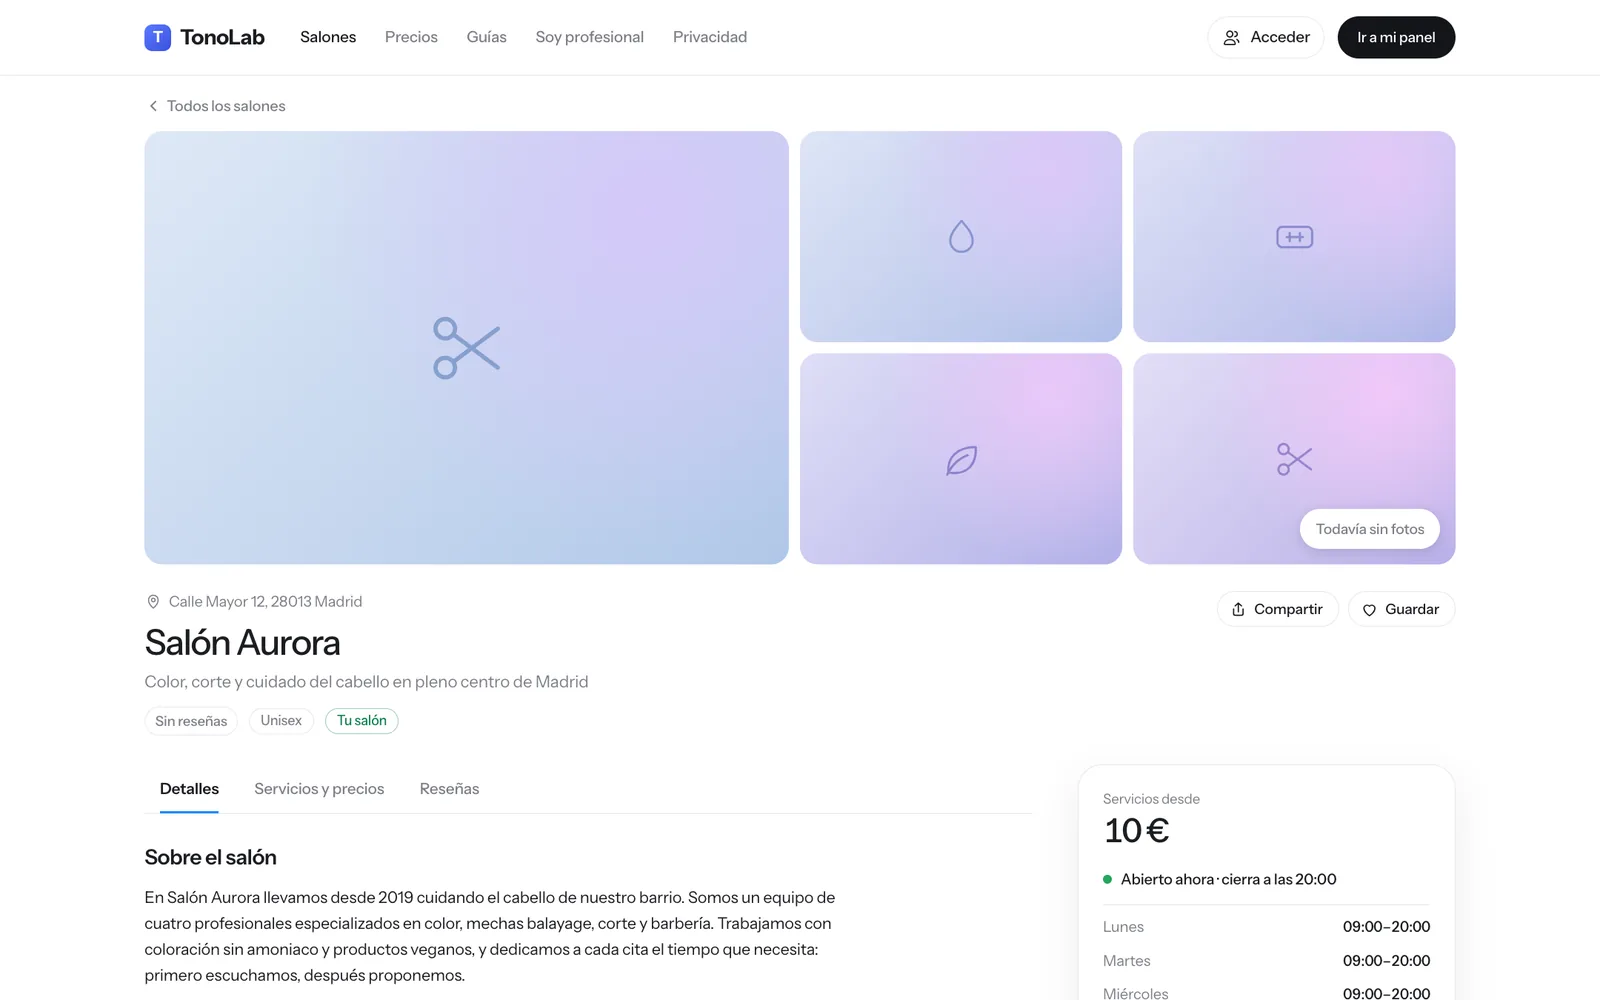
Every salon has its page in the TonoLab directory, with its services, prices, photos and reviews, and a button to book an appointment.
- In Settings › Showcase write the salon's description, upload photos and tick what you offer (Wi-Fi, card payments…).
- In Settings › Online booking turn booking on and decide how far in advance people can book or cancel.
- Your clients find you on the home page, open your page and choose service, professional and time.
- The appointment lands in your calendar as pending for you to confirm.
- Reviews can only be written by clients with an account who have already visited your salon.
11. Settings, team and reminders
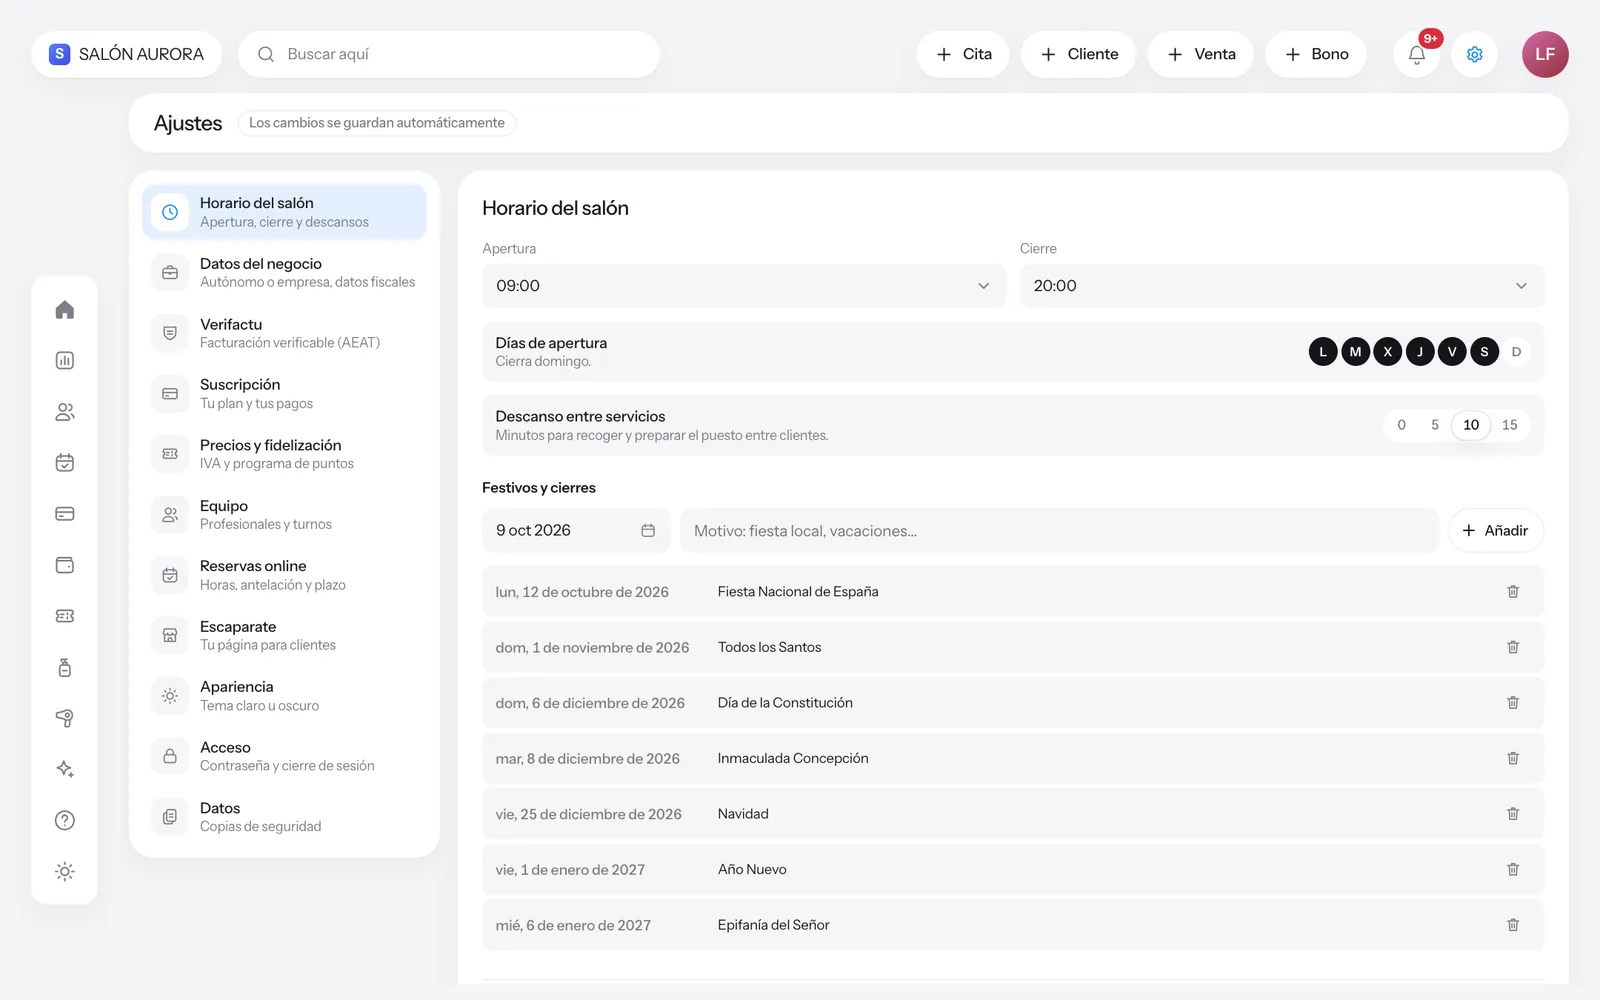
Settings holds everything you set up once: opening hours, team, tax details, reminders and your plan.
- Opening hours: the days you open, opening and closing times, and bank holidays.
- Team: add each professional with their working days and services.
- Online booking: as well as booking, this is where you choose appointment reminders (e-mail, WhatsApp or notification) and how far ahead they go out.
- Subscription: check your plan and change it whenever you like; payment is made inside the app.
- Access: change your e-mail or password and generate a recovery code.
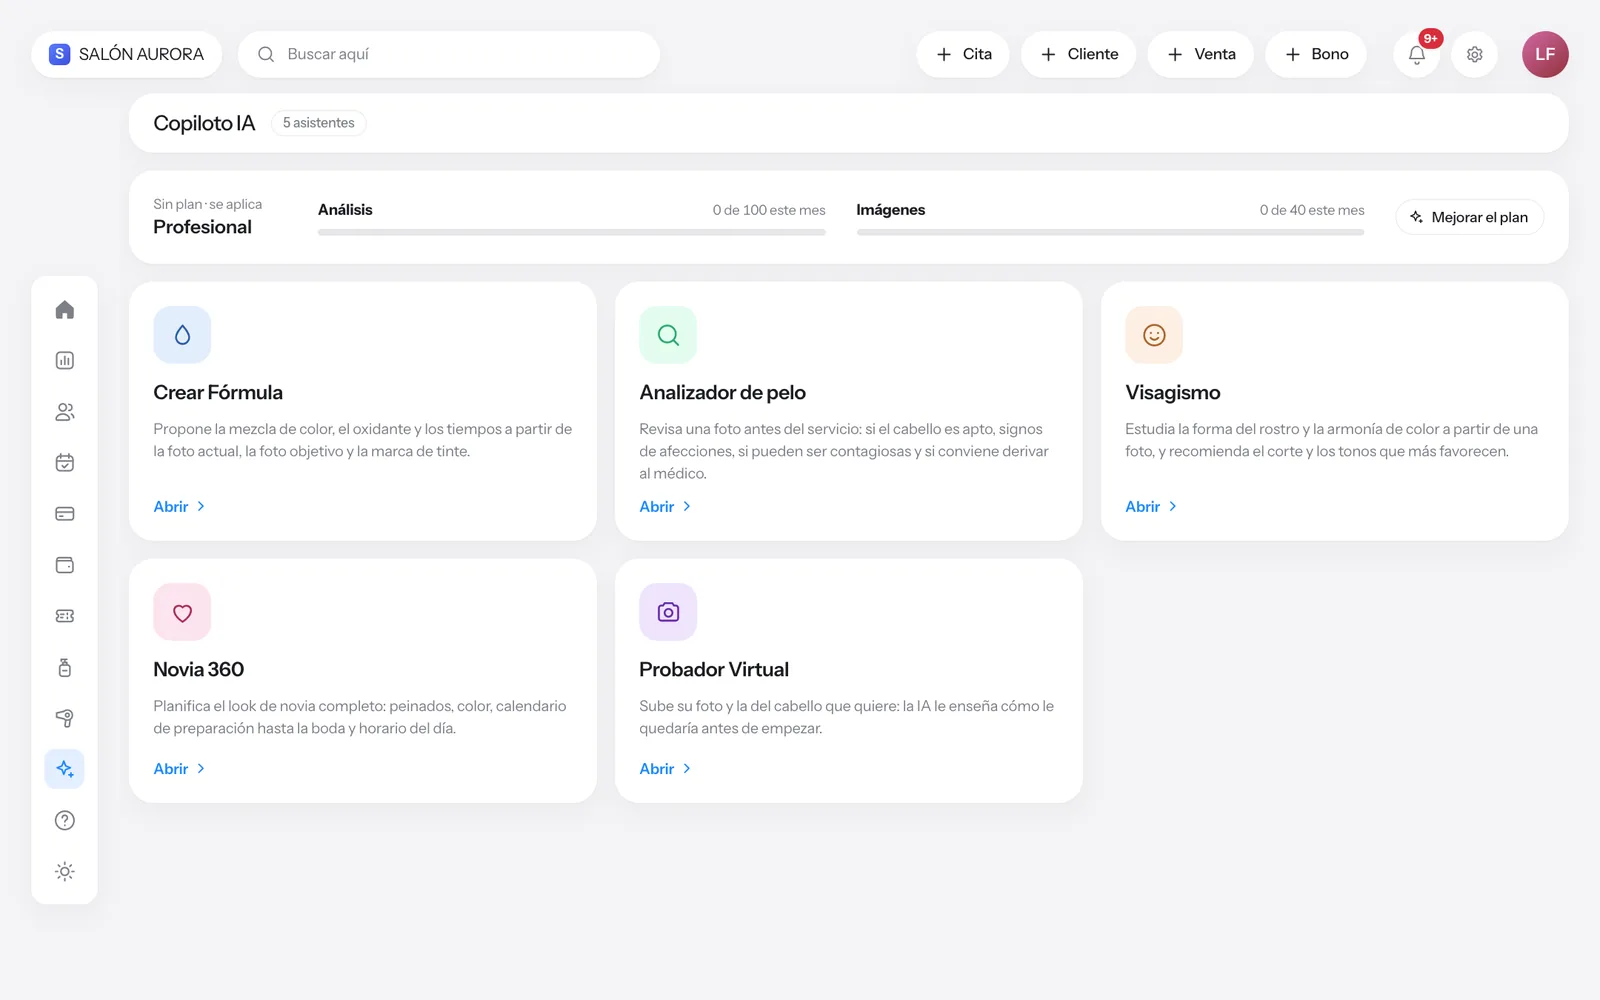
12. AI Copilot
AI tools for technical work: colour formulas, hair analysis, face shape study and image try-ons.
- Open “AI Copilot” and choose the tool.
- Upload the photo it asks for (the current state and, for colour, the target).
- The Copilot gives you a reasoned proposal. Always check it with your professional judgement.
- Save the result in the client's record.
- Each plan includes a number of analyses and images per month; you can see it in your profile.